
Exercises & Protocols
Start with the recommended hamstring or calf isometric exercises for repeatable baseline comparisons. Free recording and custom exercises let you observe other suitable movements under the IFU safety precautions.
Use dual-unit straps for Hamstrings and Calf, and single-unit straps for other added muscles. Keep cables facing upwards and follow the software’s colour prompts. Do not reverse dual-unit straps.
Electrode gel preparation
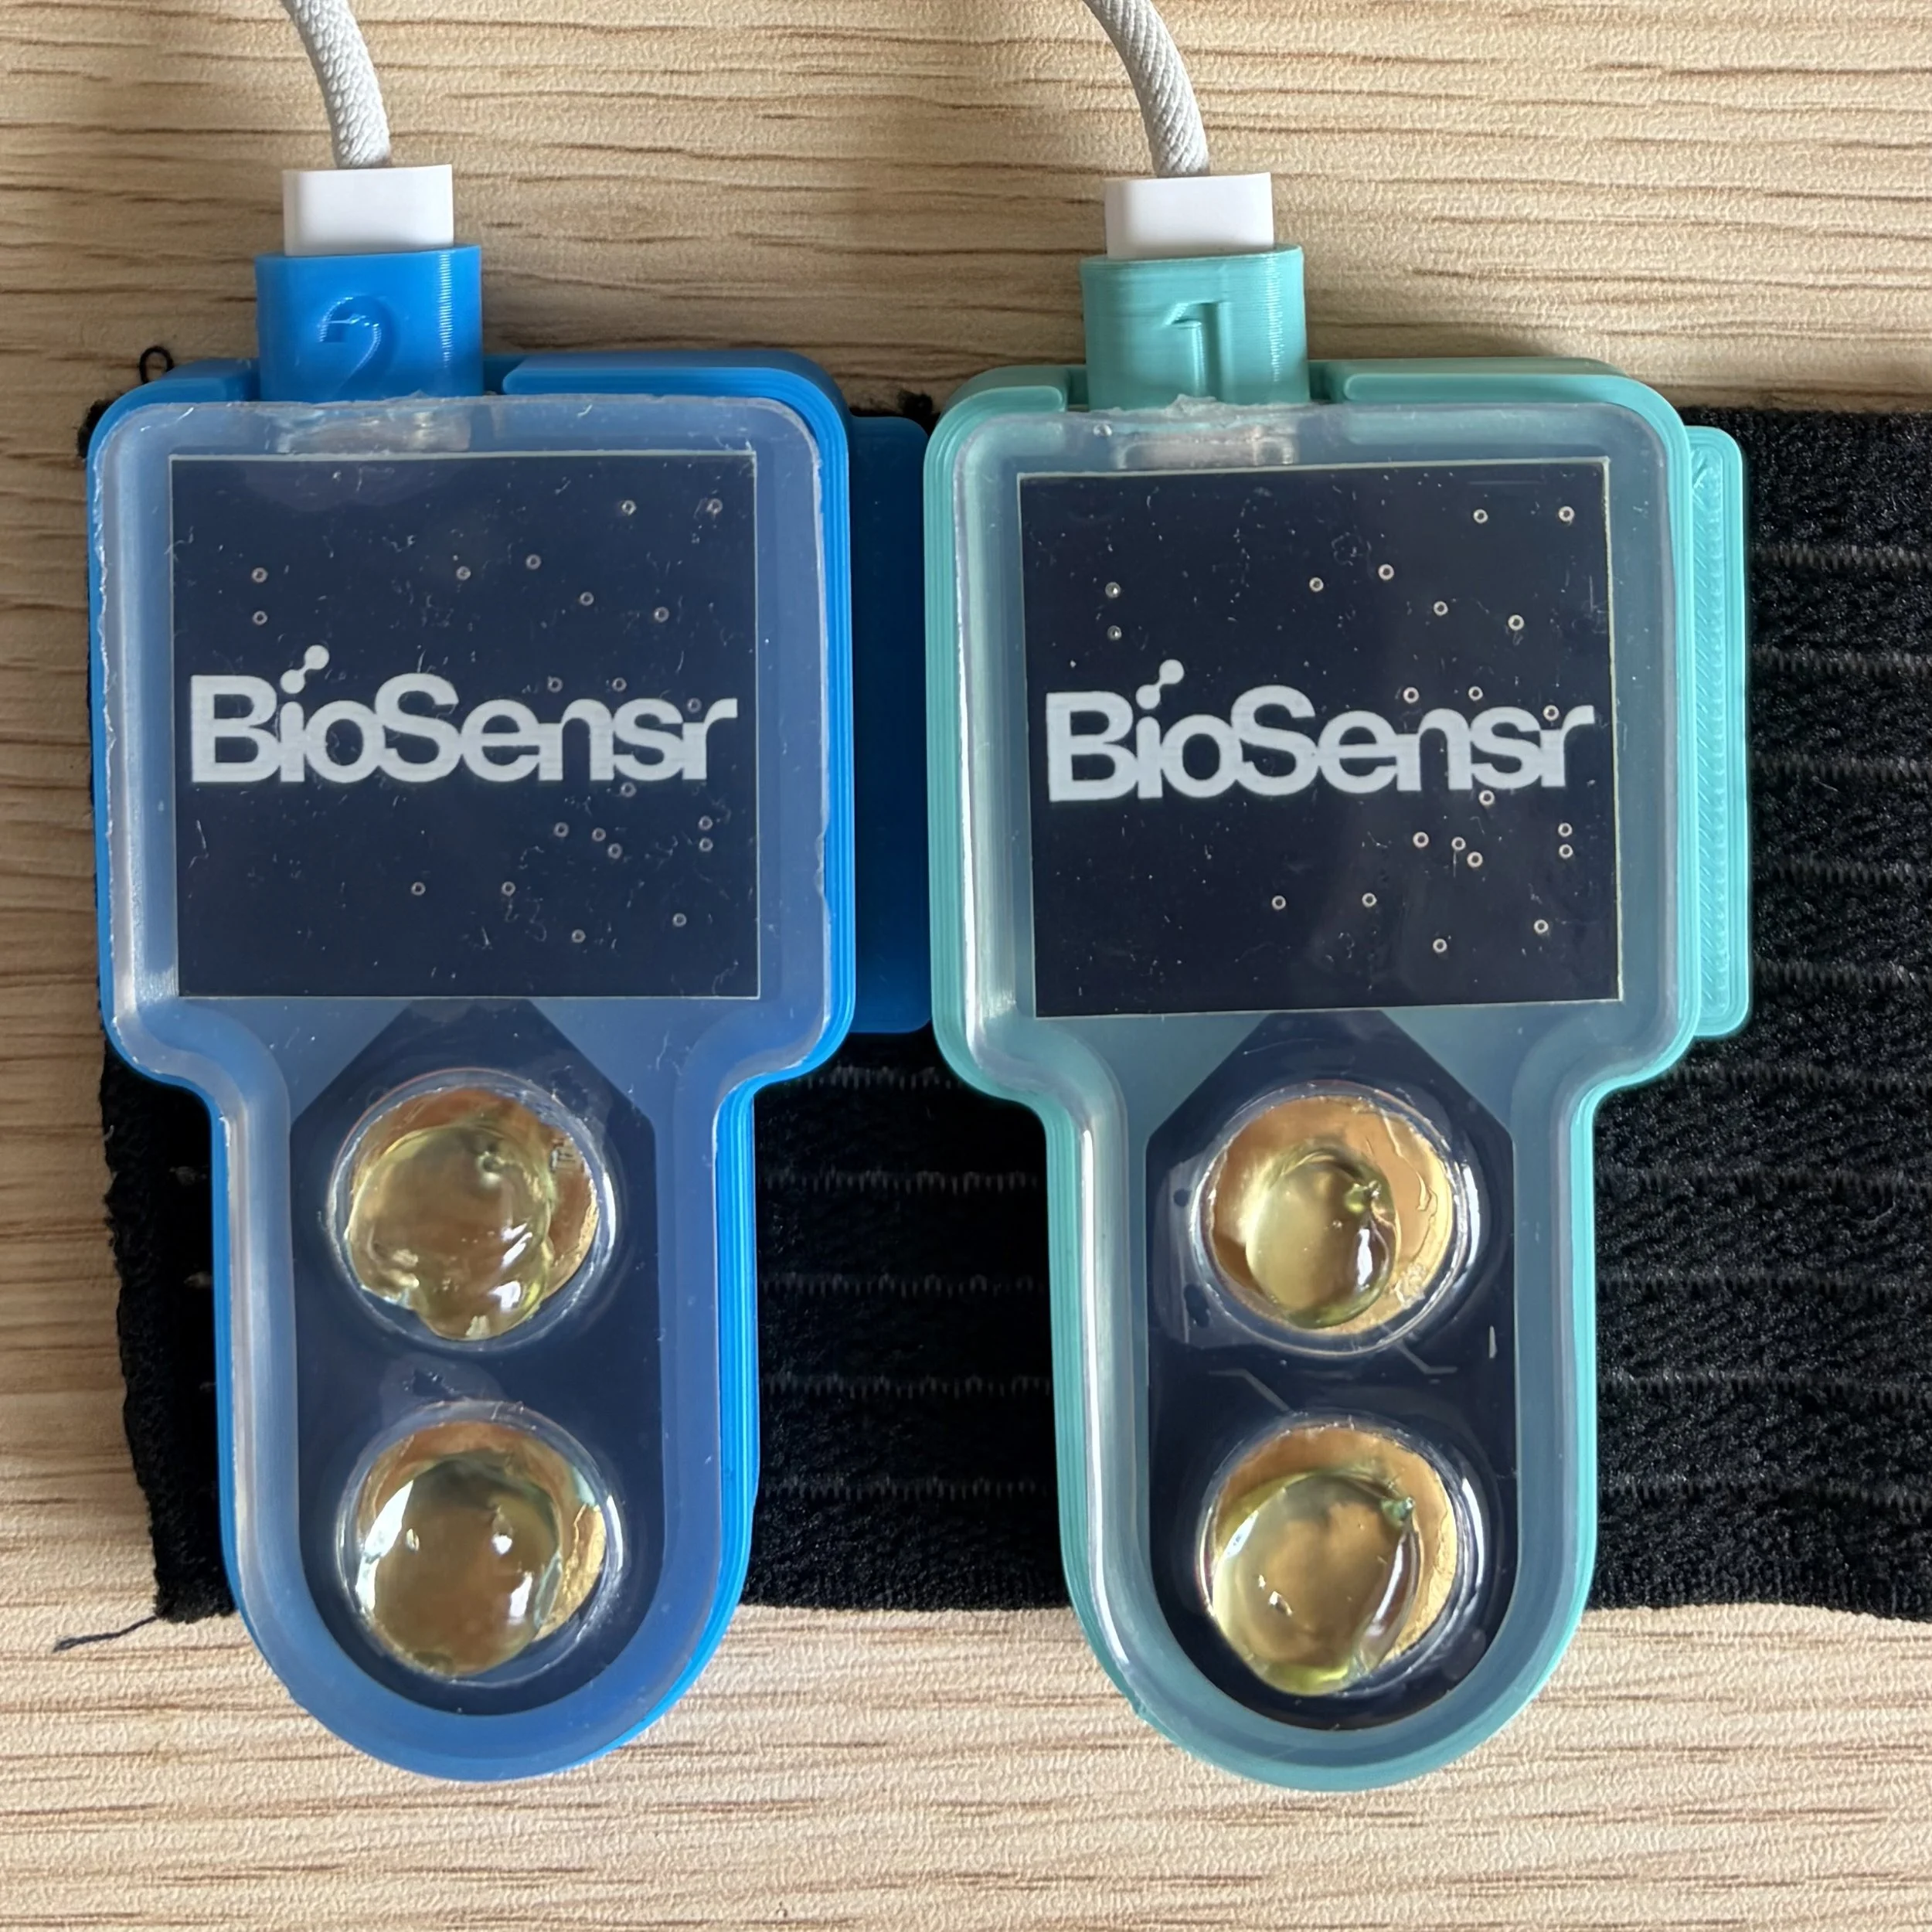
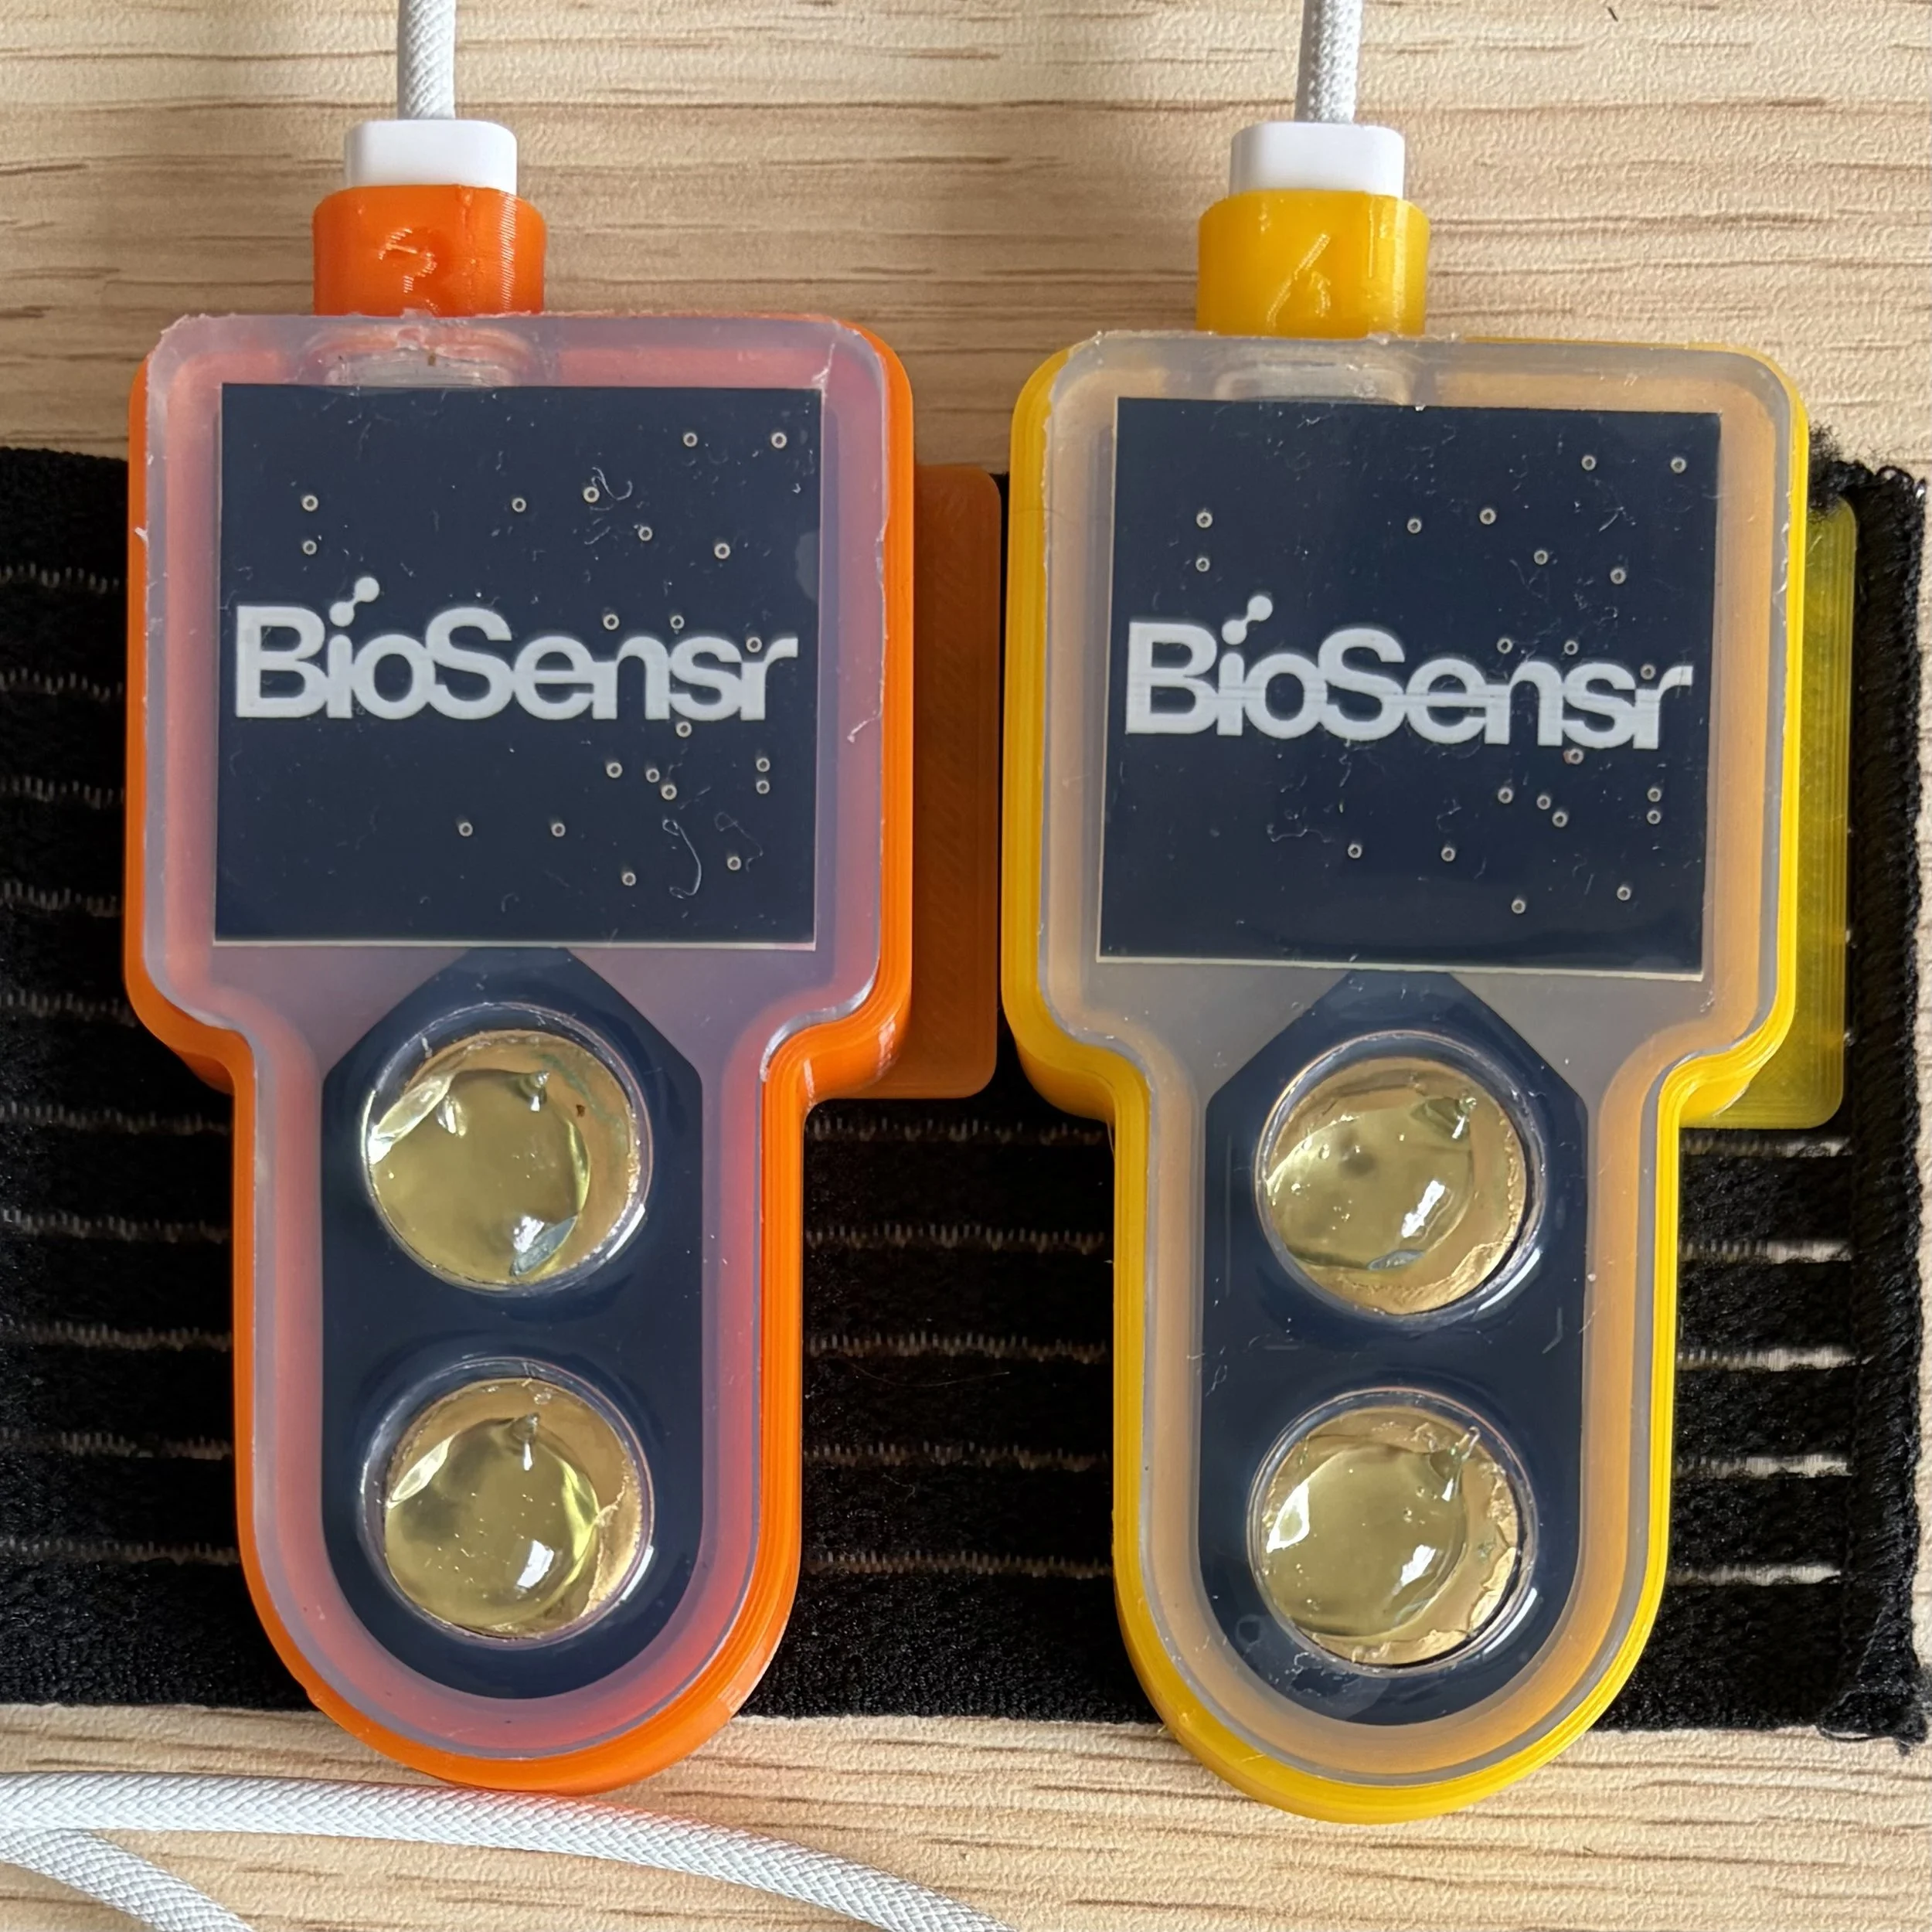
All BioSensrs require electrode gel
Use Spectra 360 electrode gel.
Fill each electrode cavity approximately ¾ full.
For repeated use on different athletes, wipe excess gel; complete removal is not required.
Single-leg (SL) isometric hamstring prone hold
1. Hamstring Strap Setup
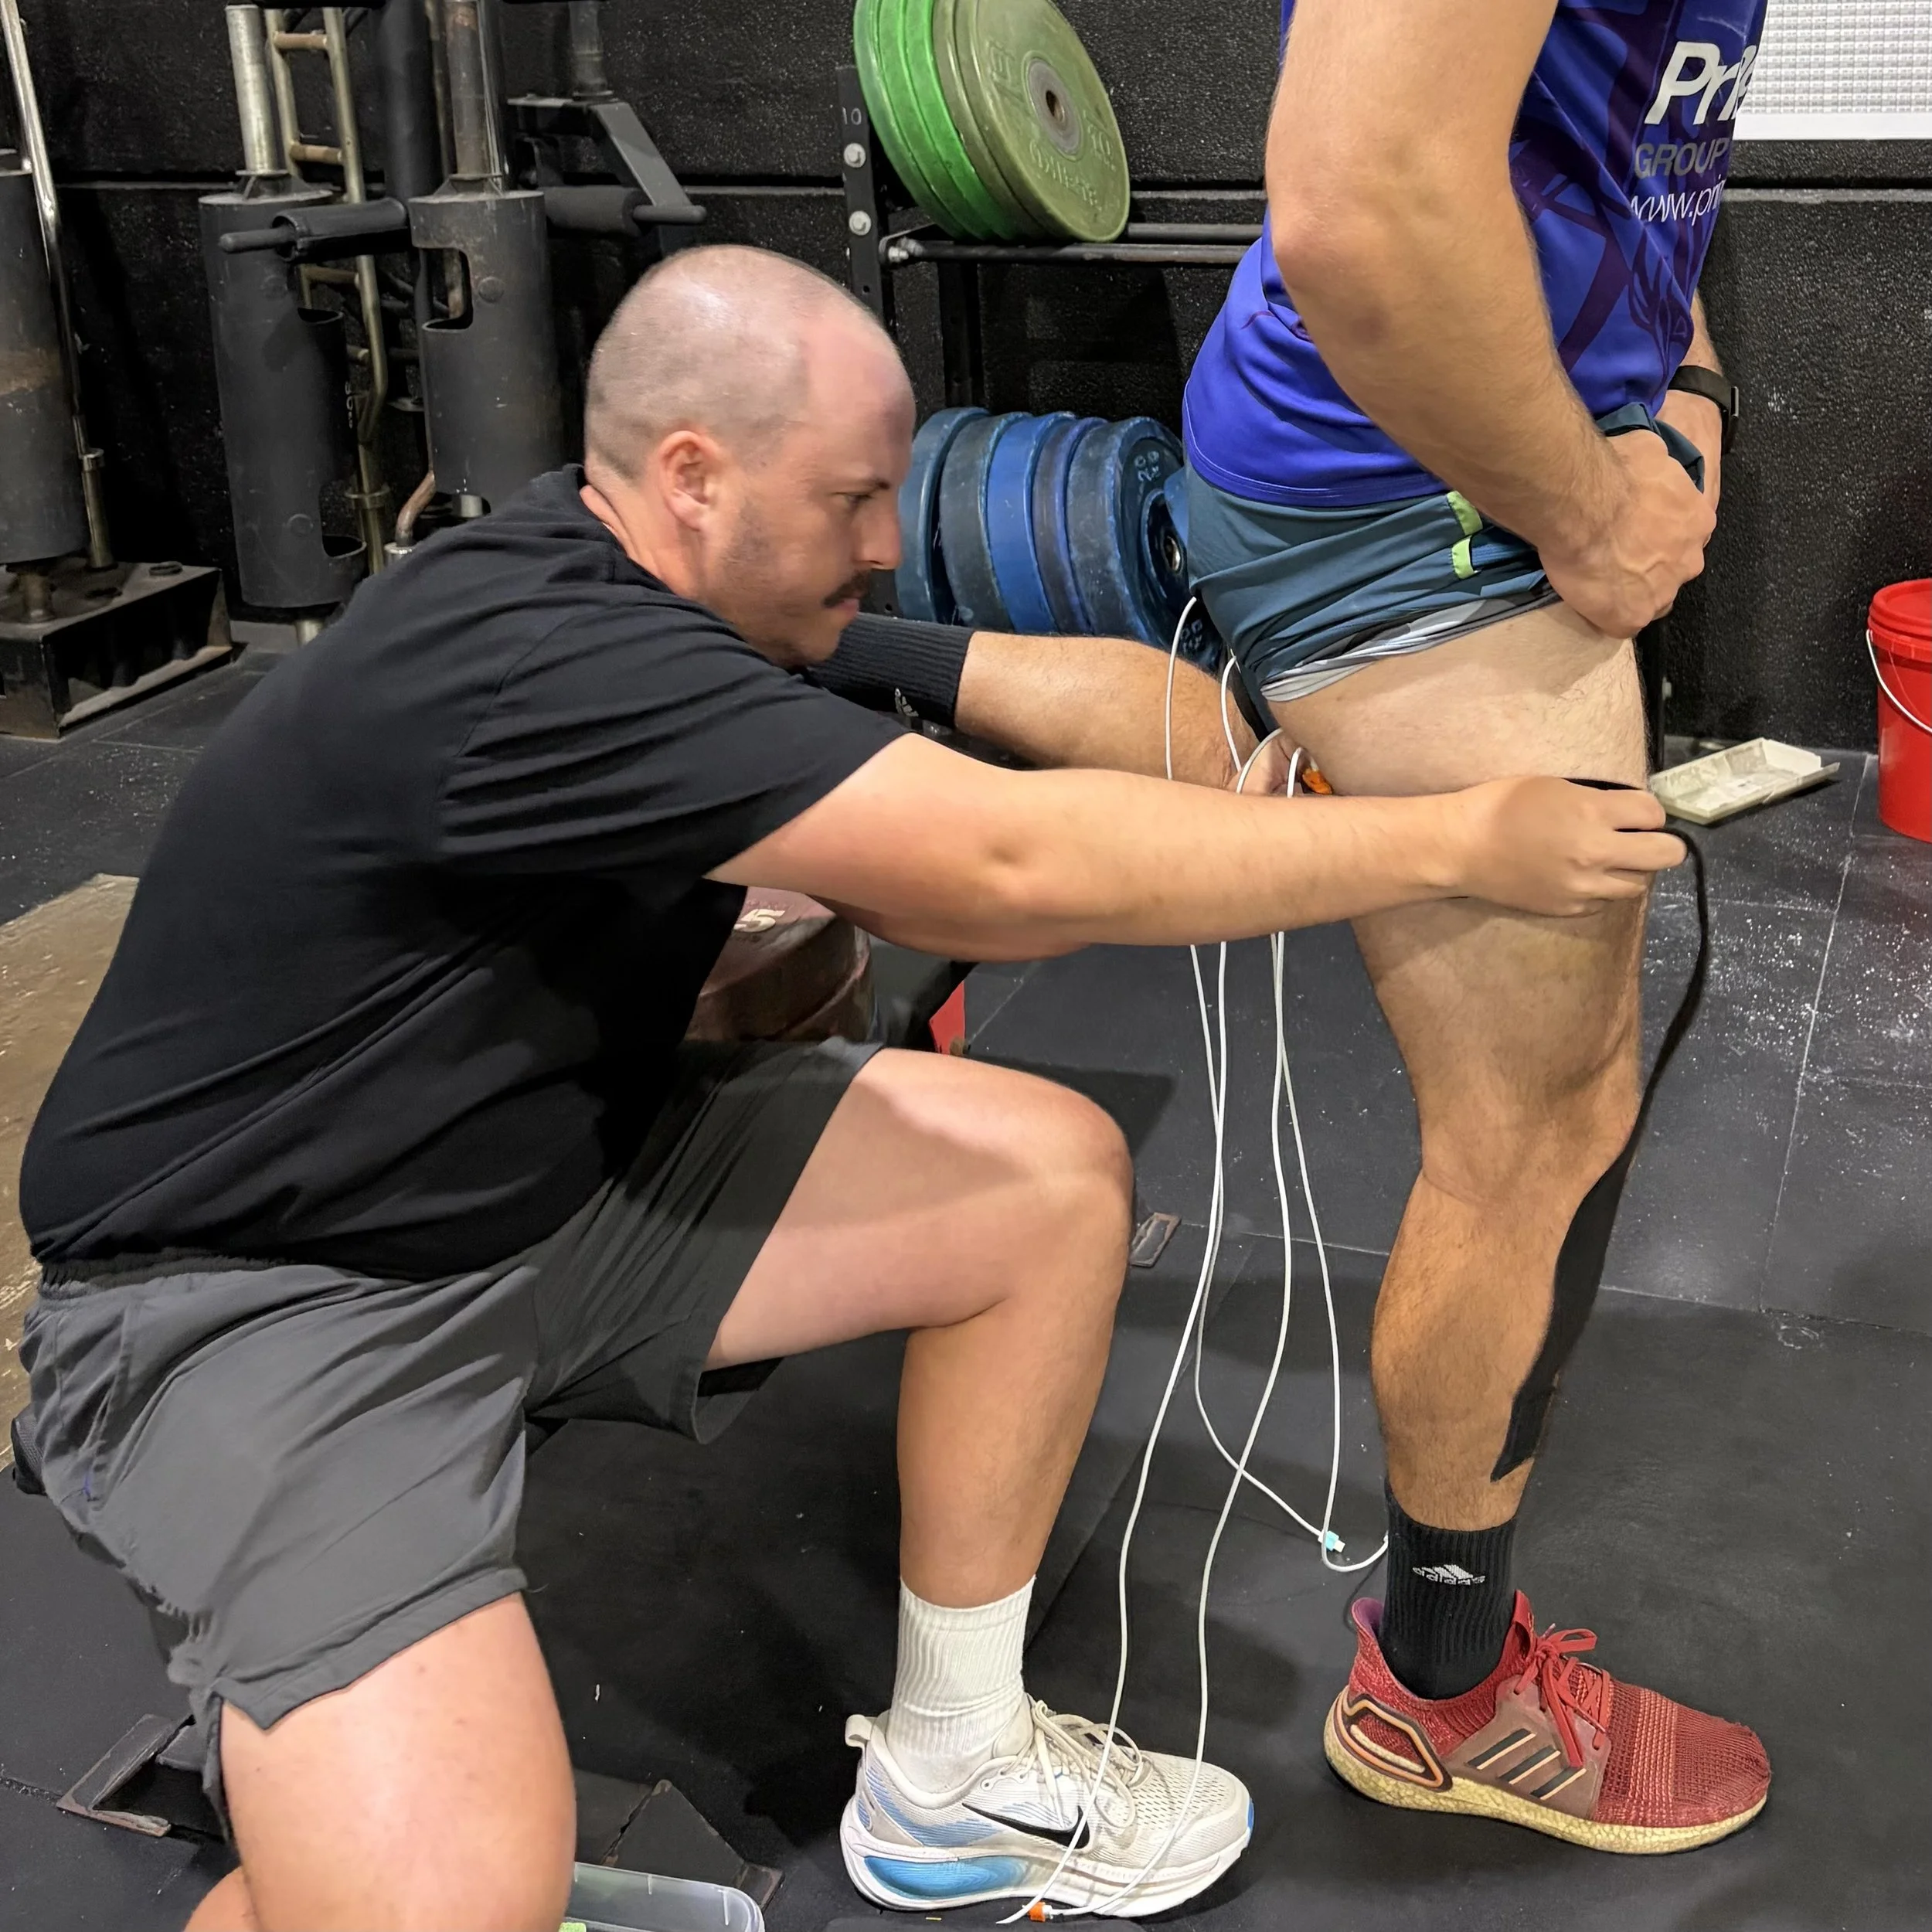
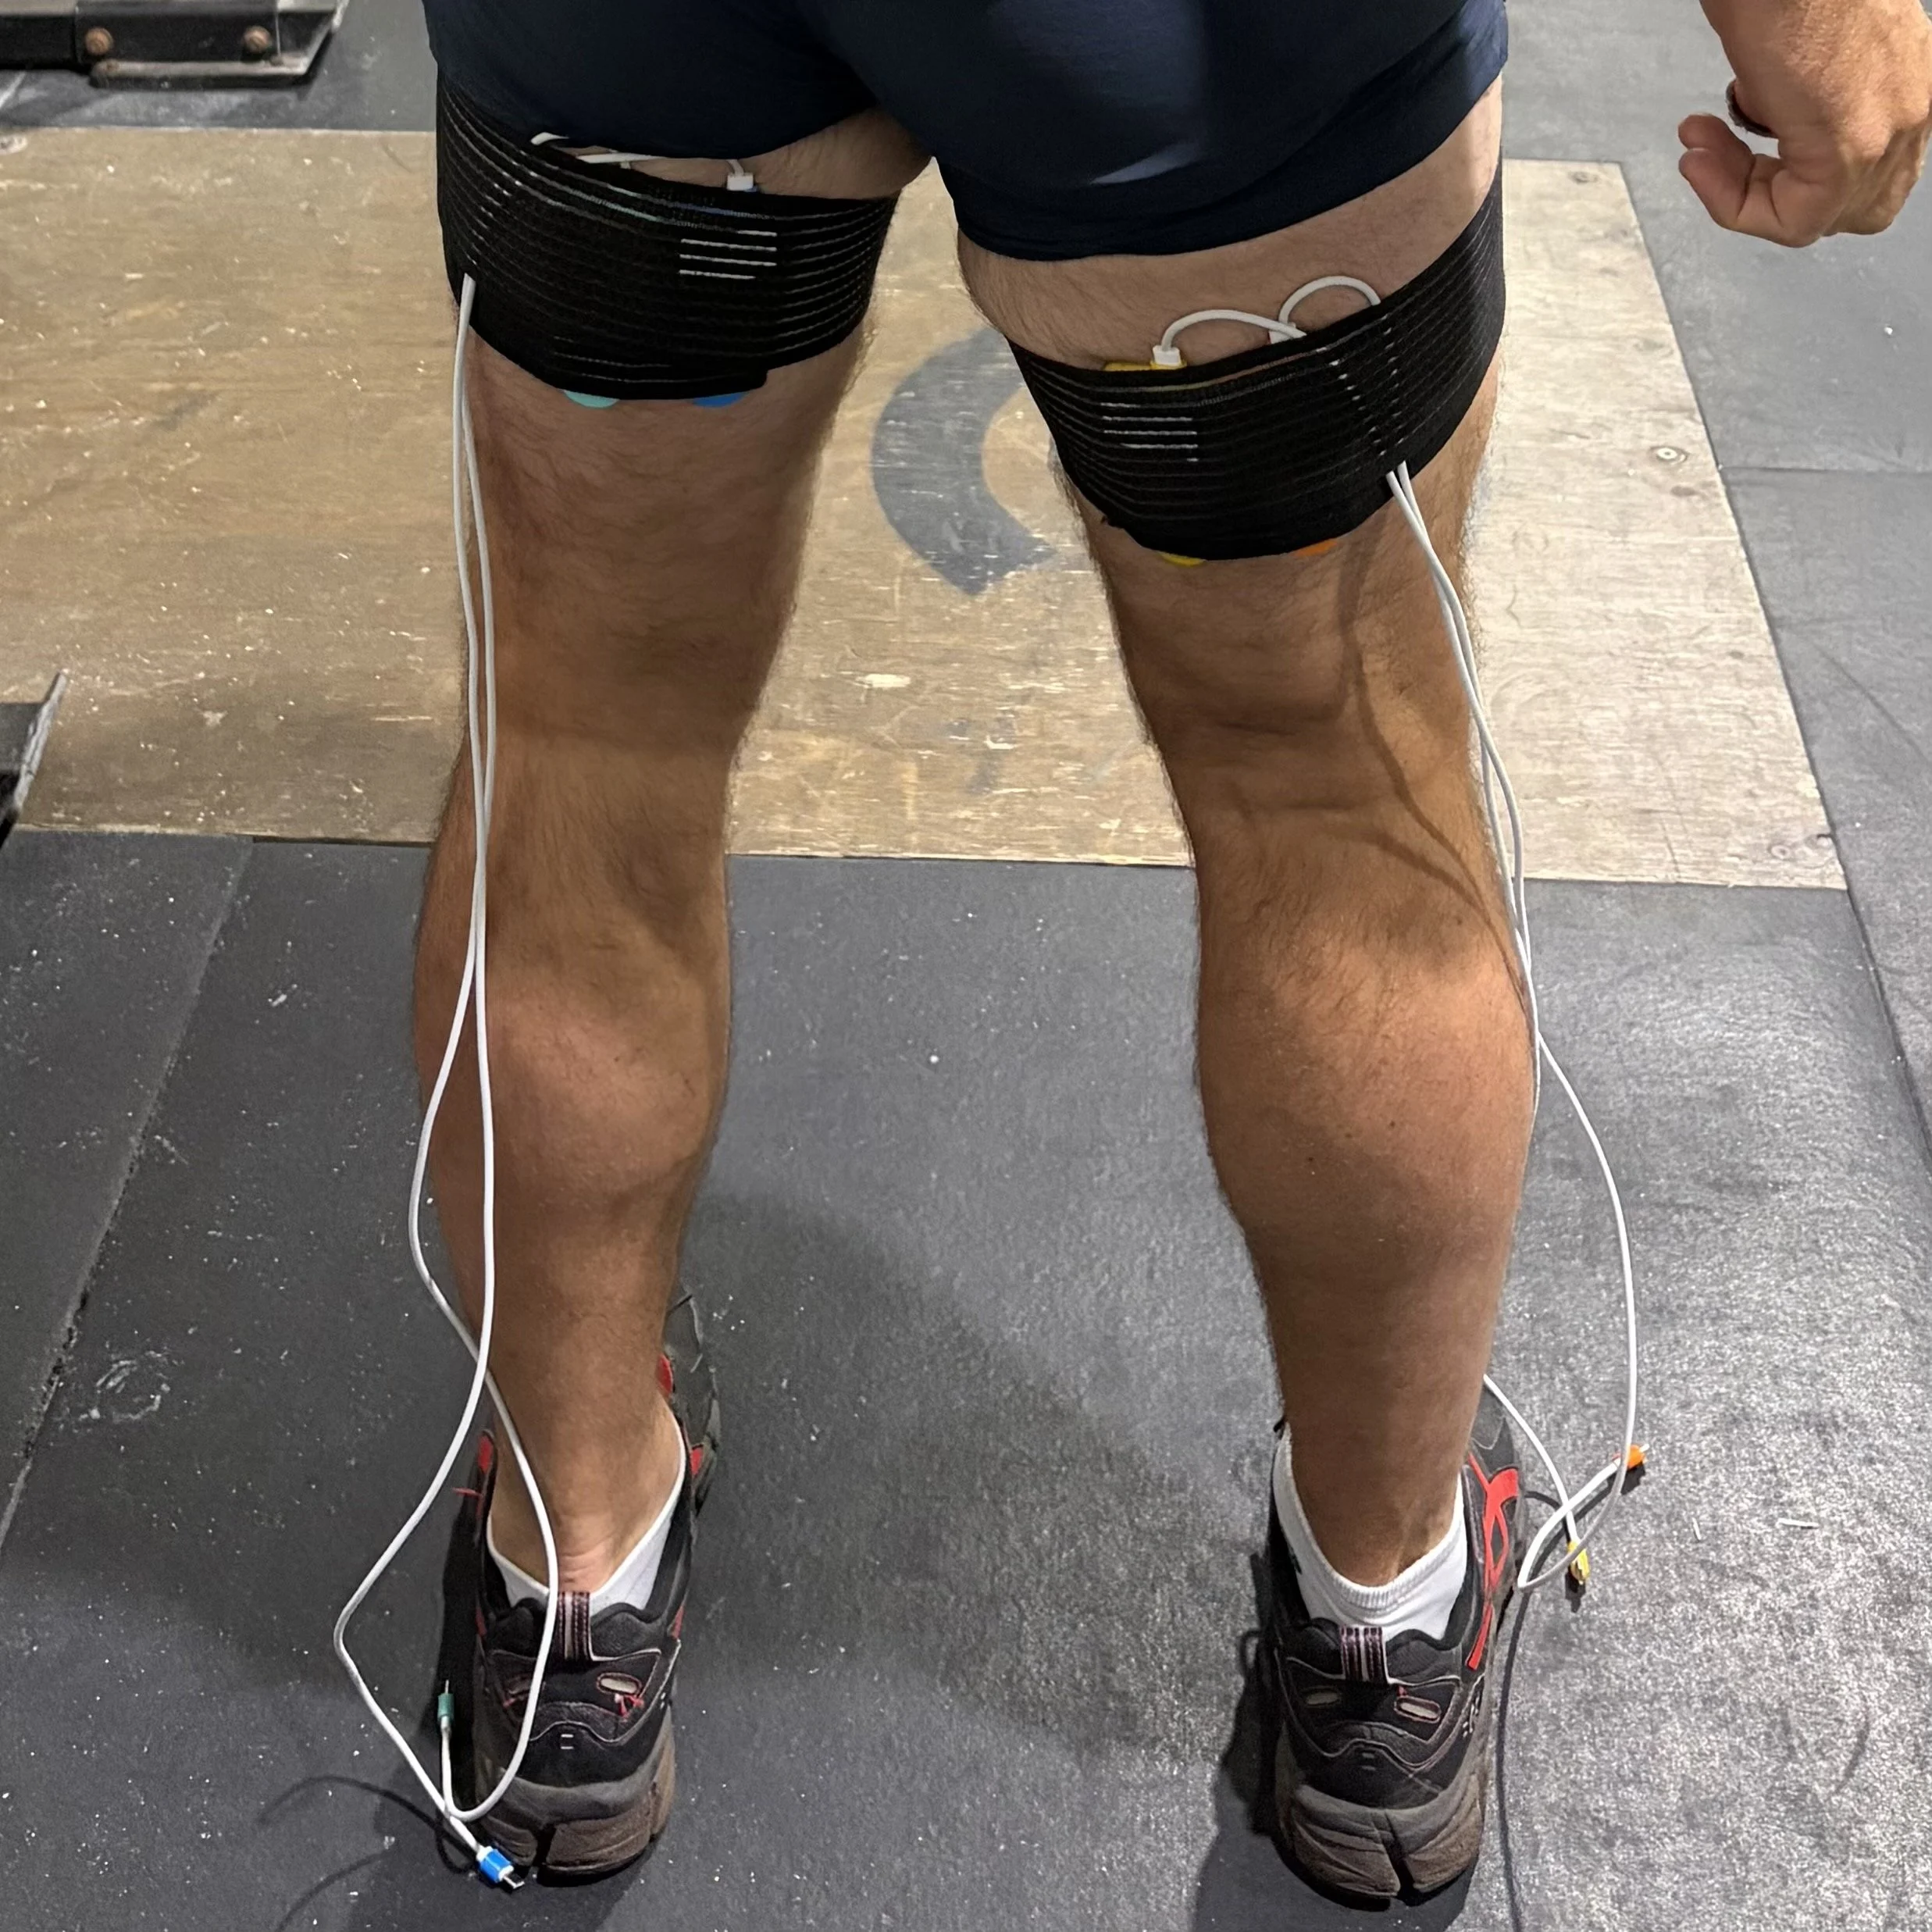
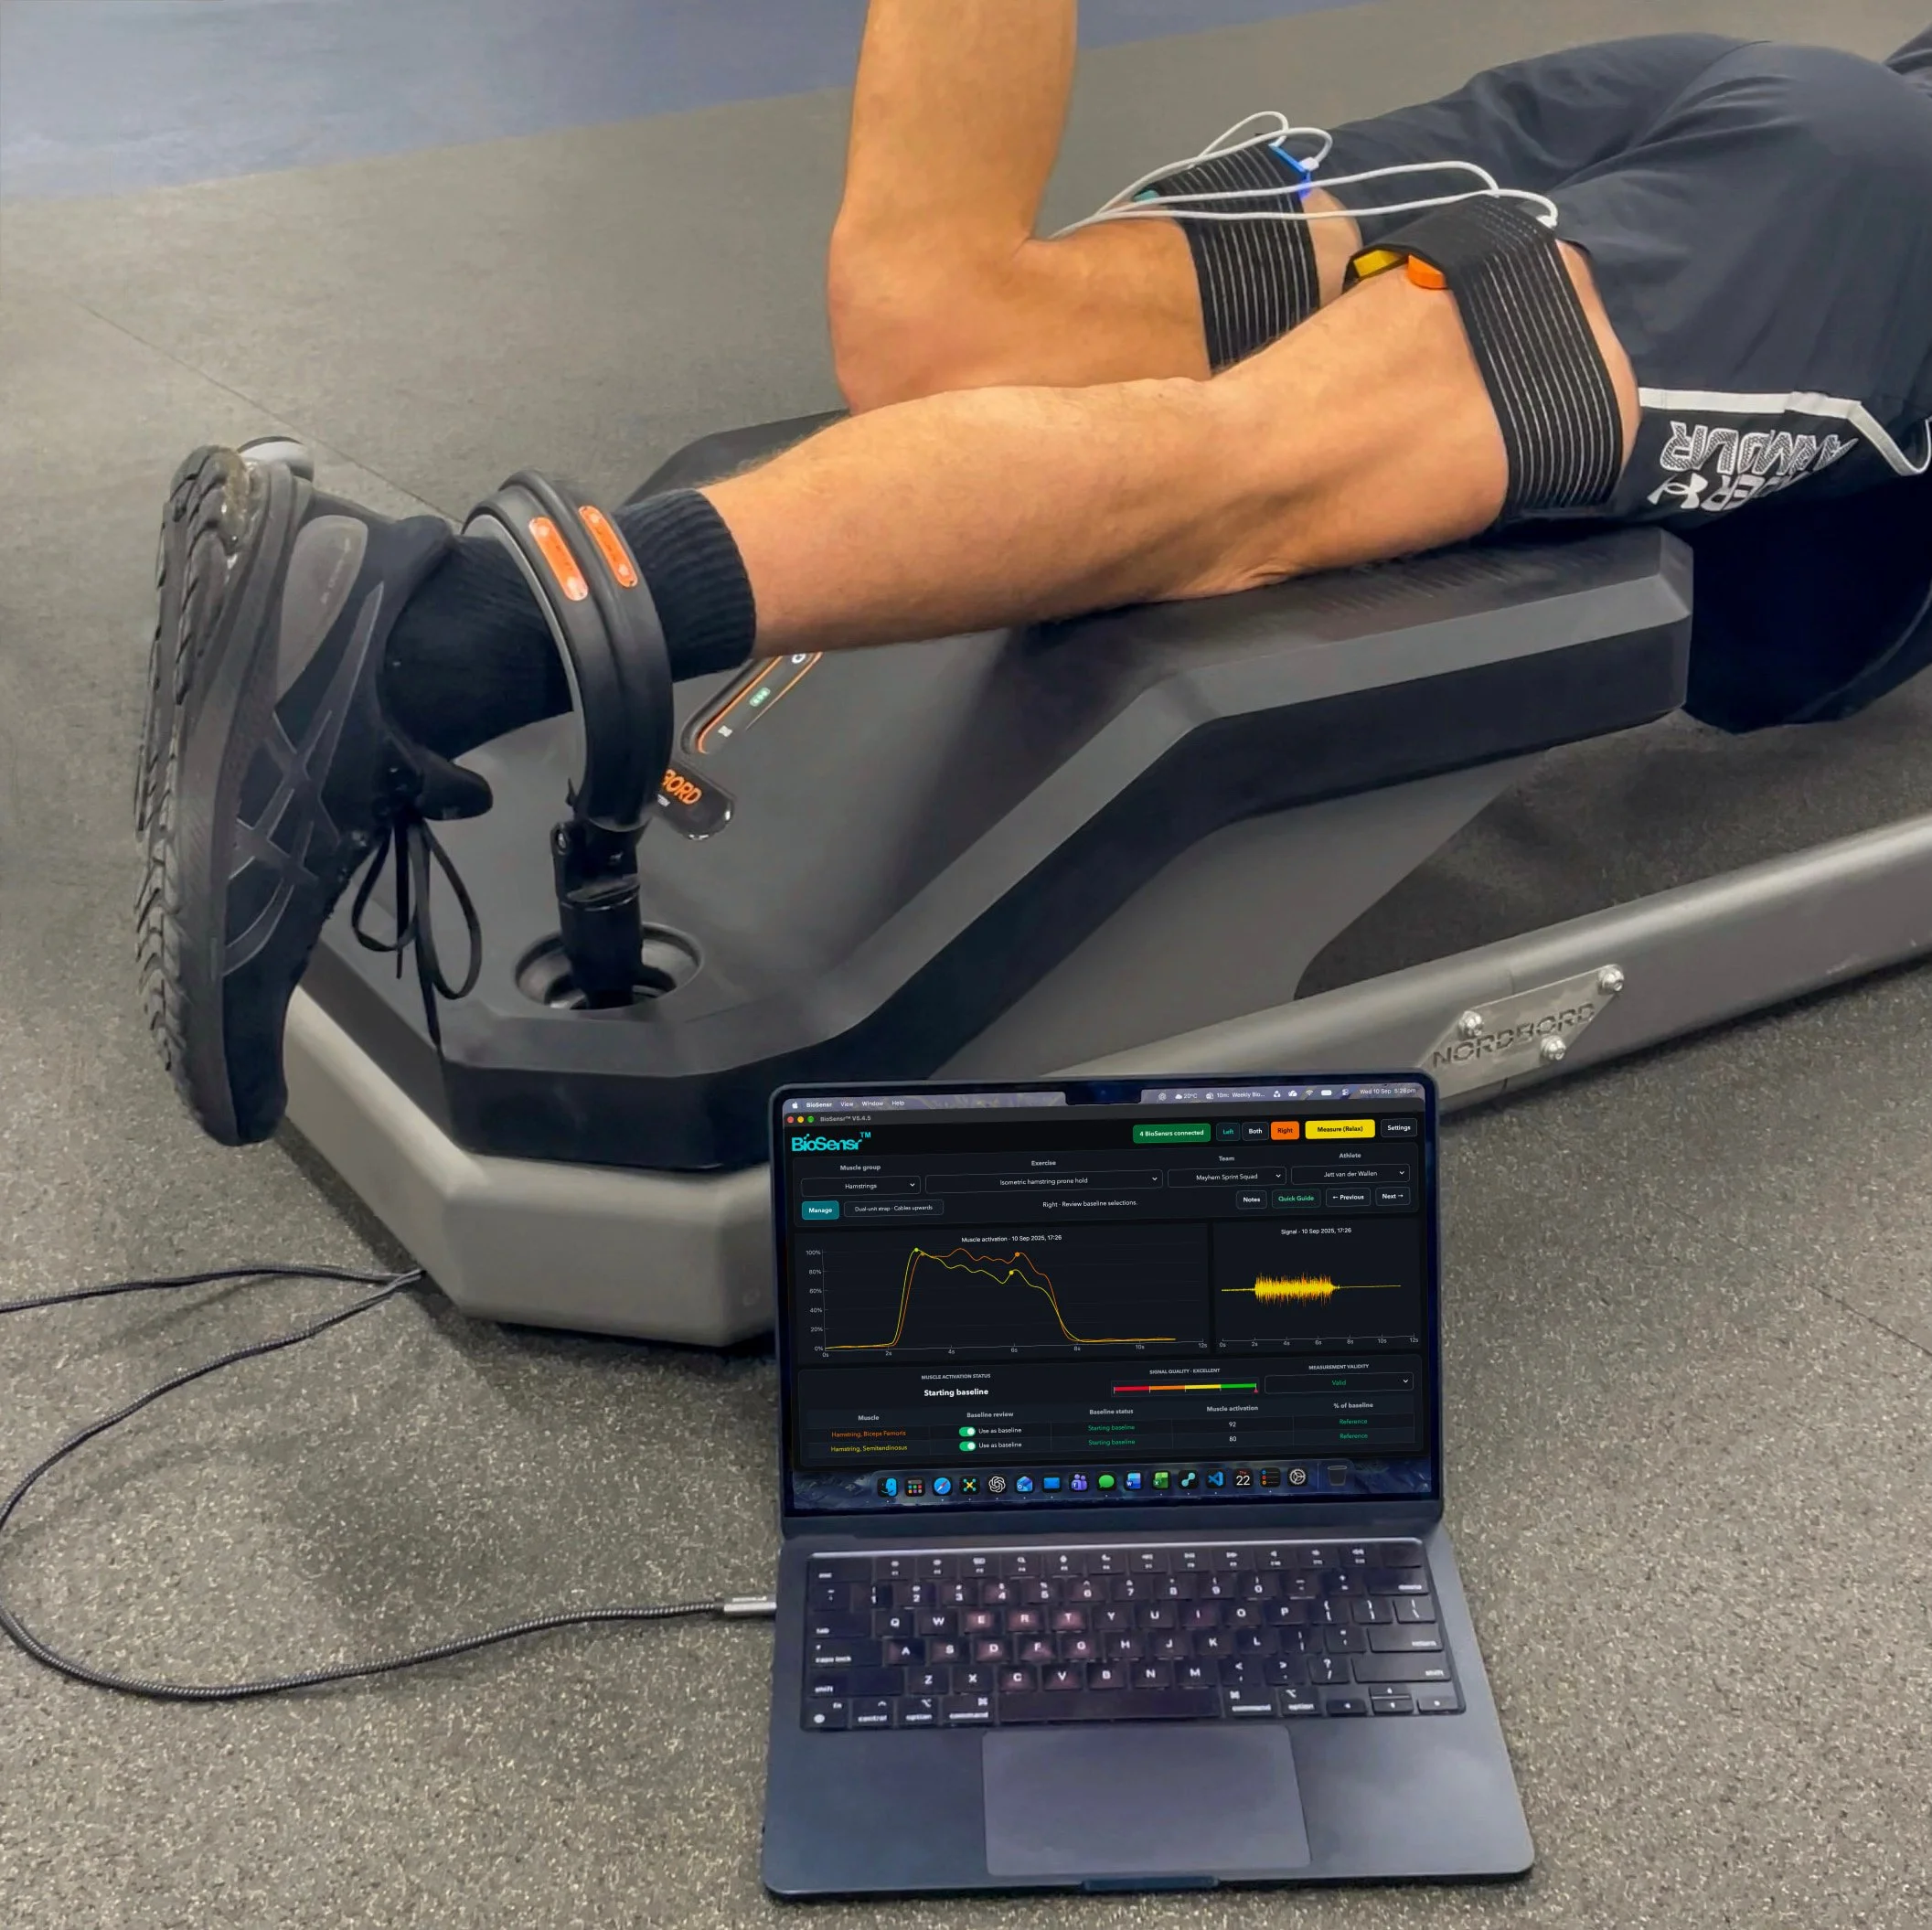
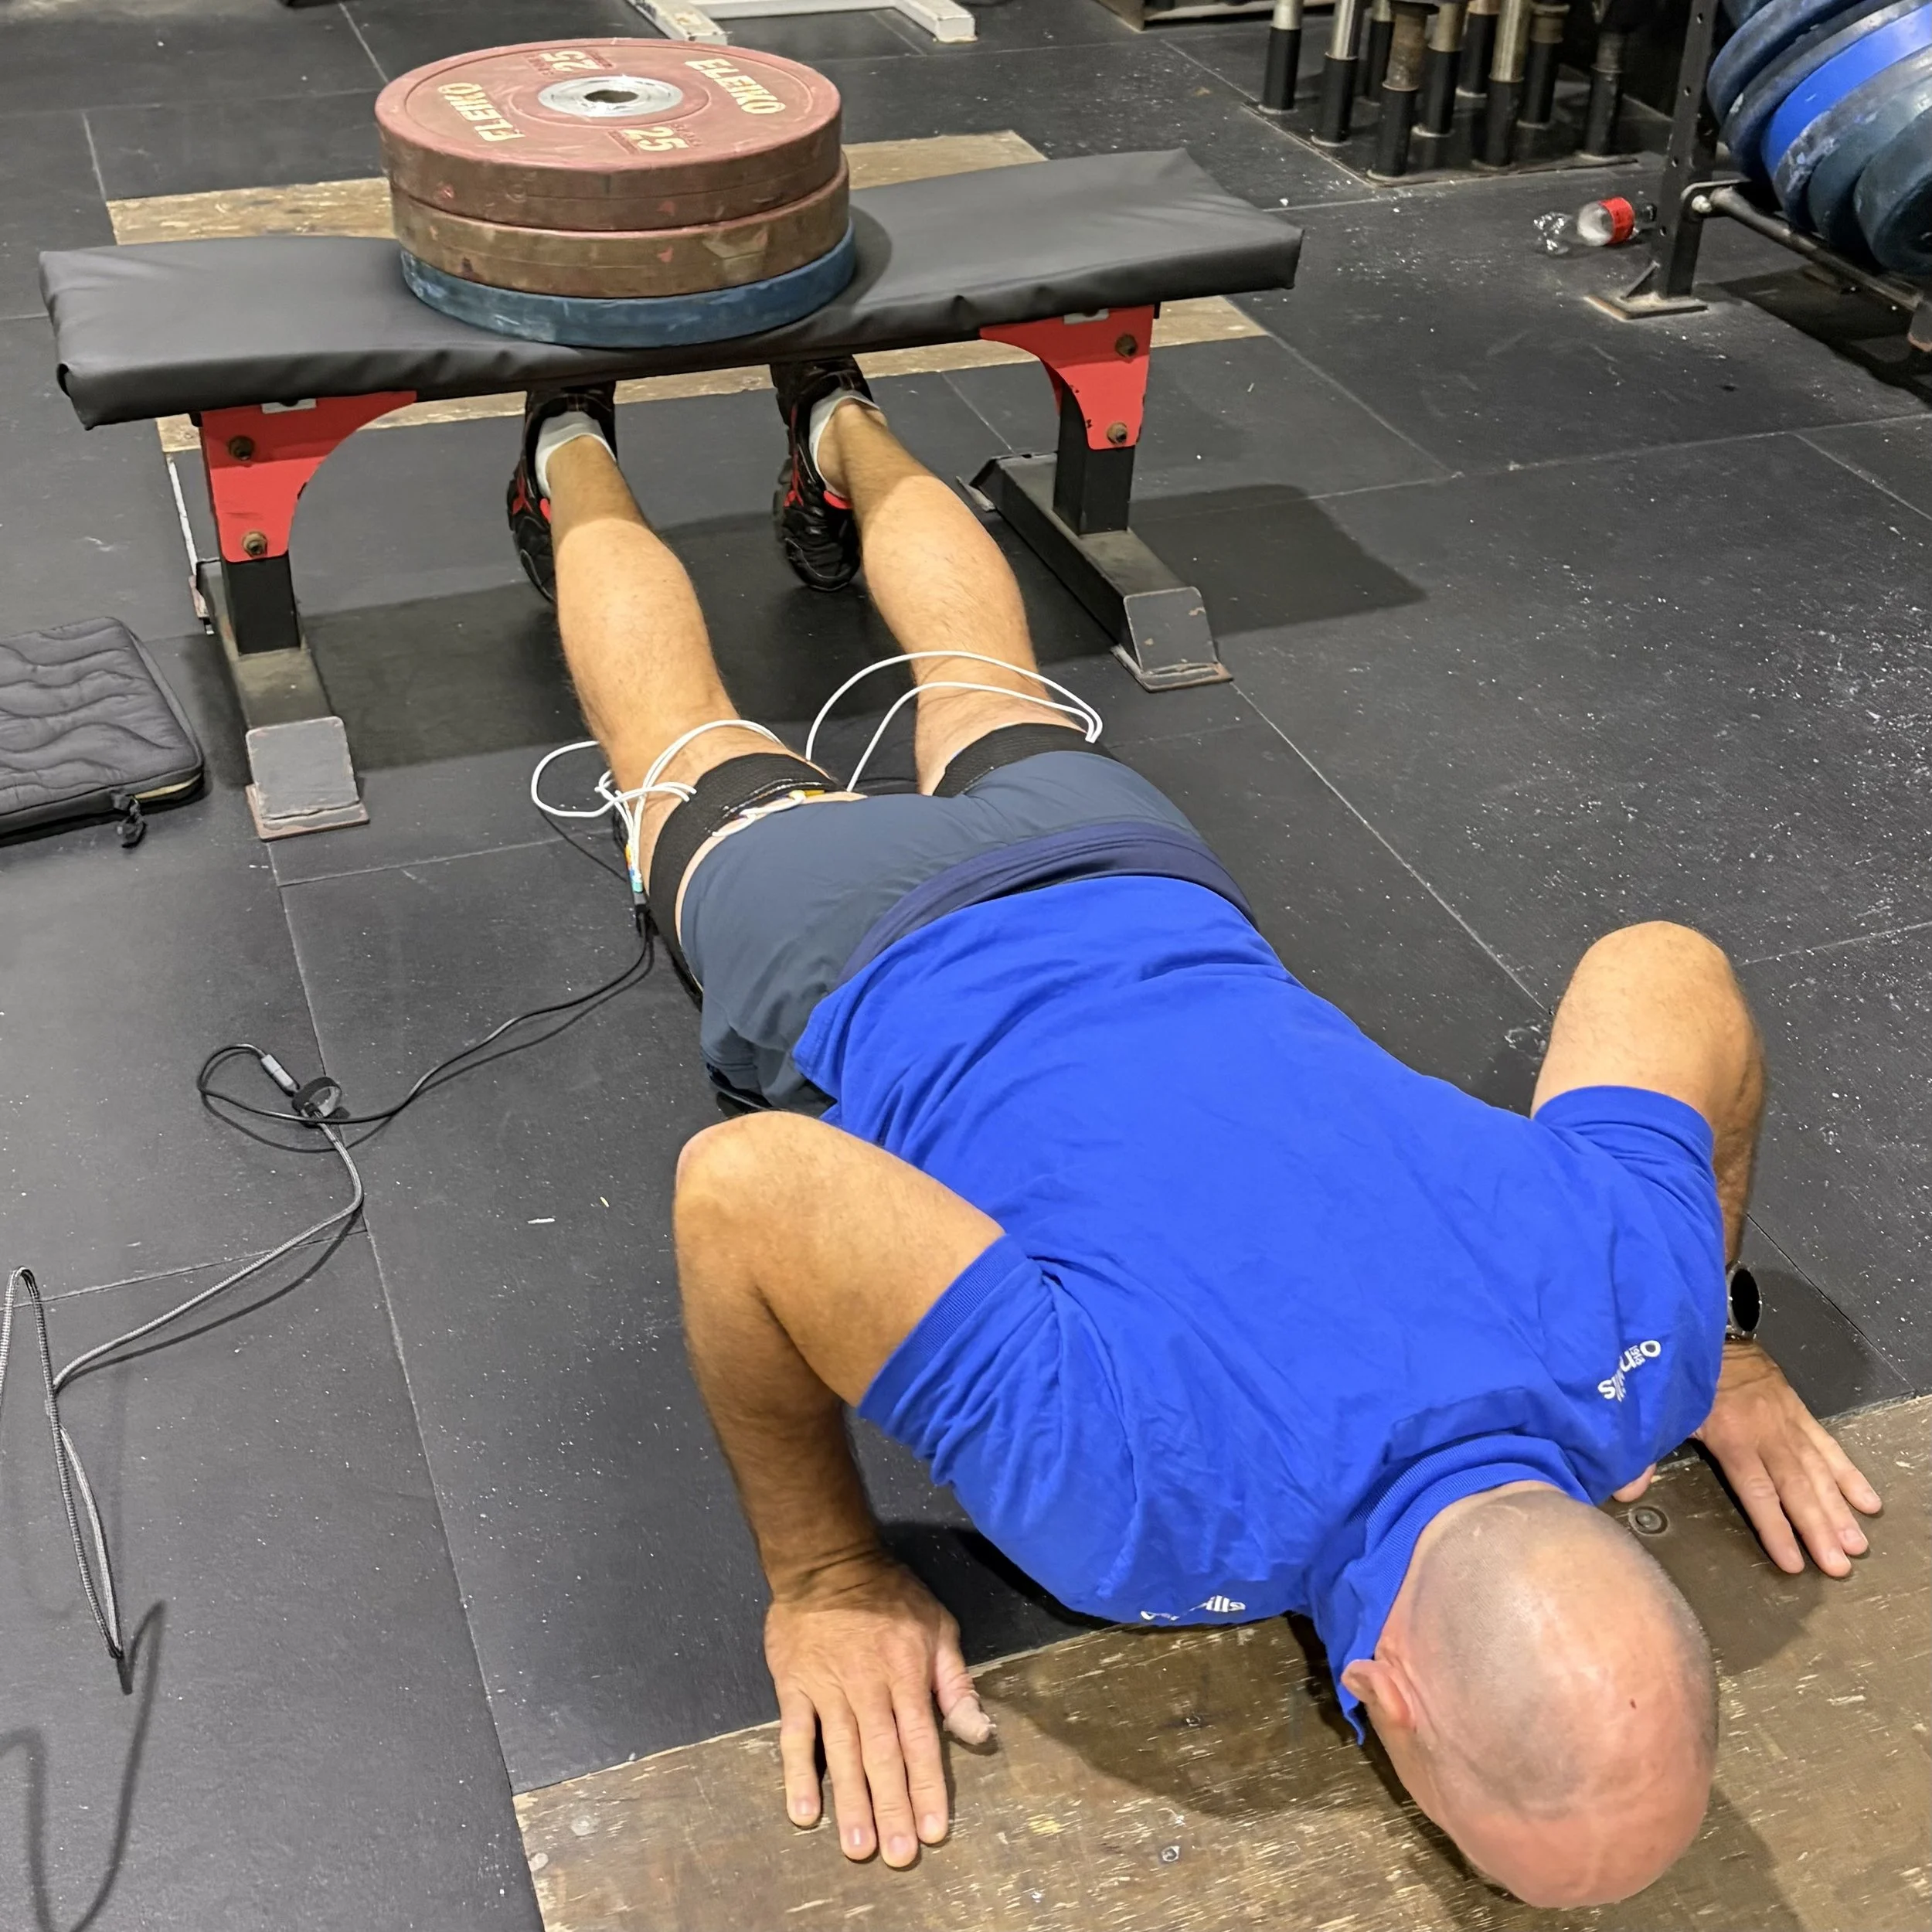
Position the straps securely with the sensors placed directly over the center of the biceps femoris and semitendinosus.
Assign the teal and blue strap to the left leg, and the orange and yellow strap to the right leg.
Ensure the sensor cables point upward, oriented toward the head.
Fasten straps snugly so they are comfortable without restricting movement or blood flow.
2. Measurement Setup
Option A (VALD NordBord): Secure test leg Achilles tendon in the strap and push upwards.
Option B (Bench): Position test leg beneath a sturdy bench loaded with ≈ 60 kg to prevent tipping; push upwards against the underside.
3. Execution Sequence
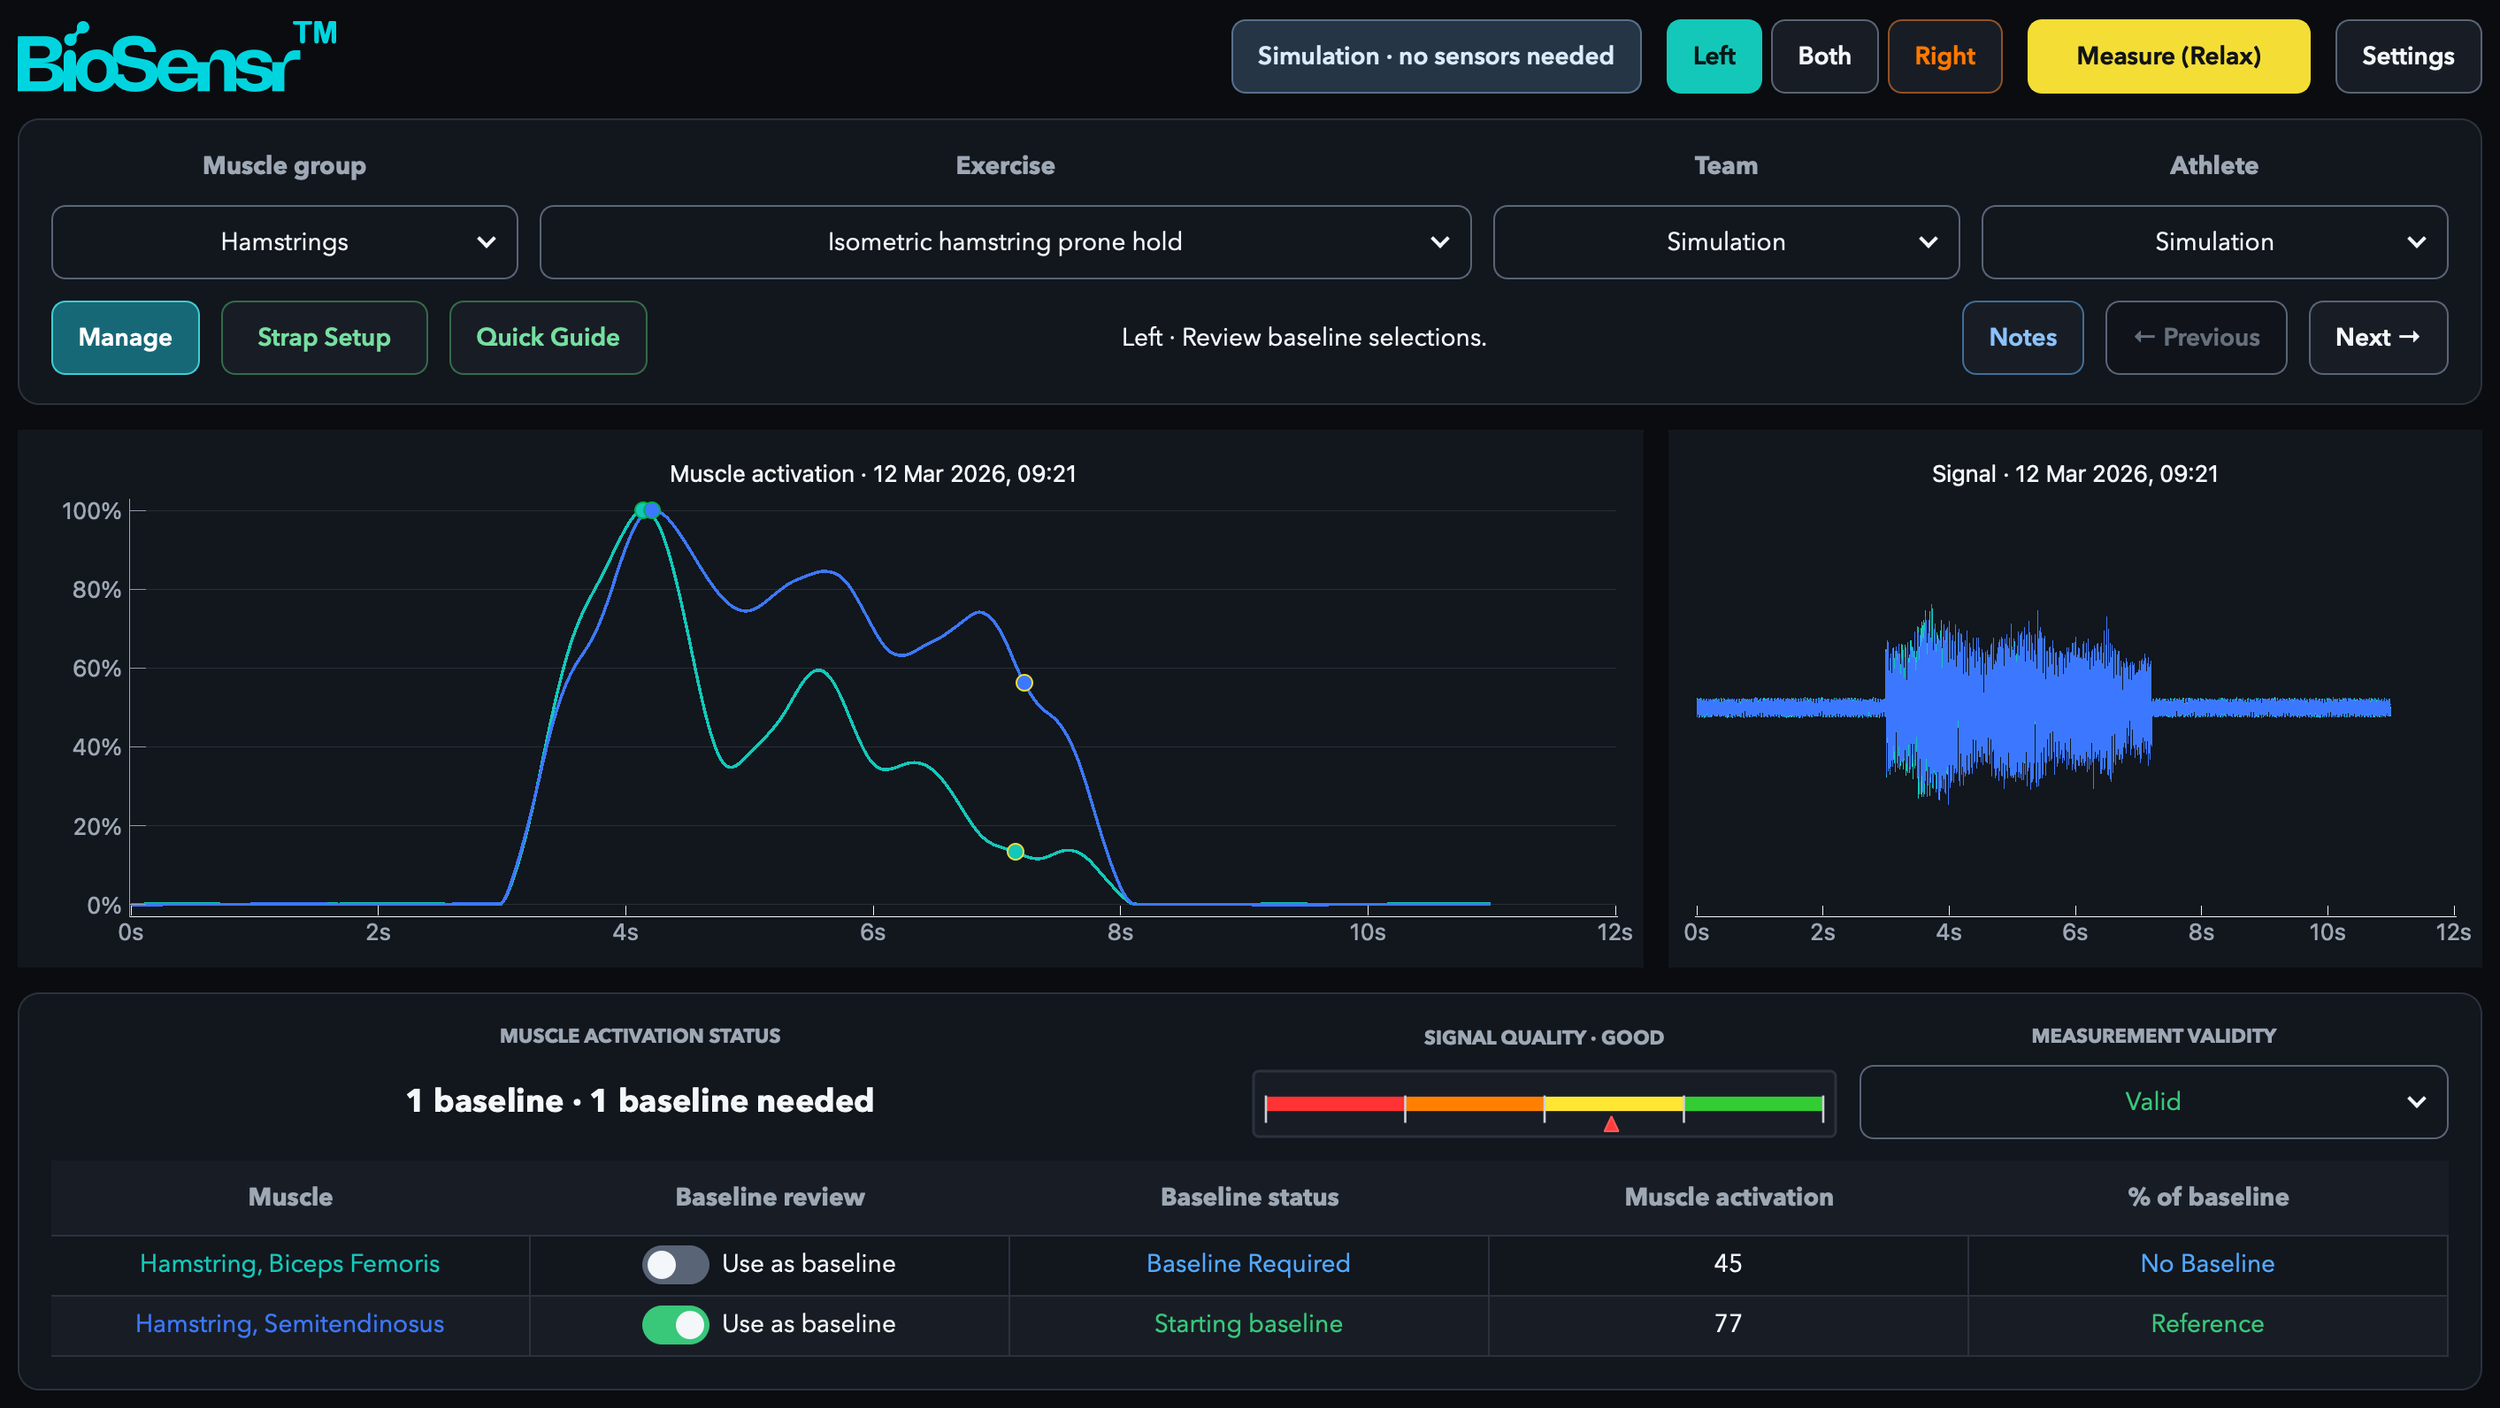
Relax (3s): Relax muscles for three seconds.
Tense (3s): Maximum Voluntary Contraction (MVC)—push test ankle upward while maintaining a neutral hip position.
Relax (3s): Relax muscles for a final three seconds.
Free recording
1. Strap Setup
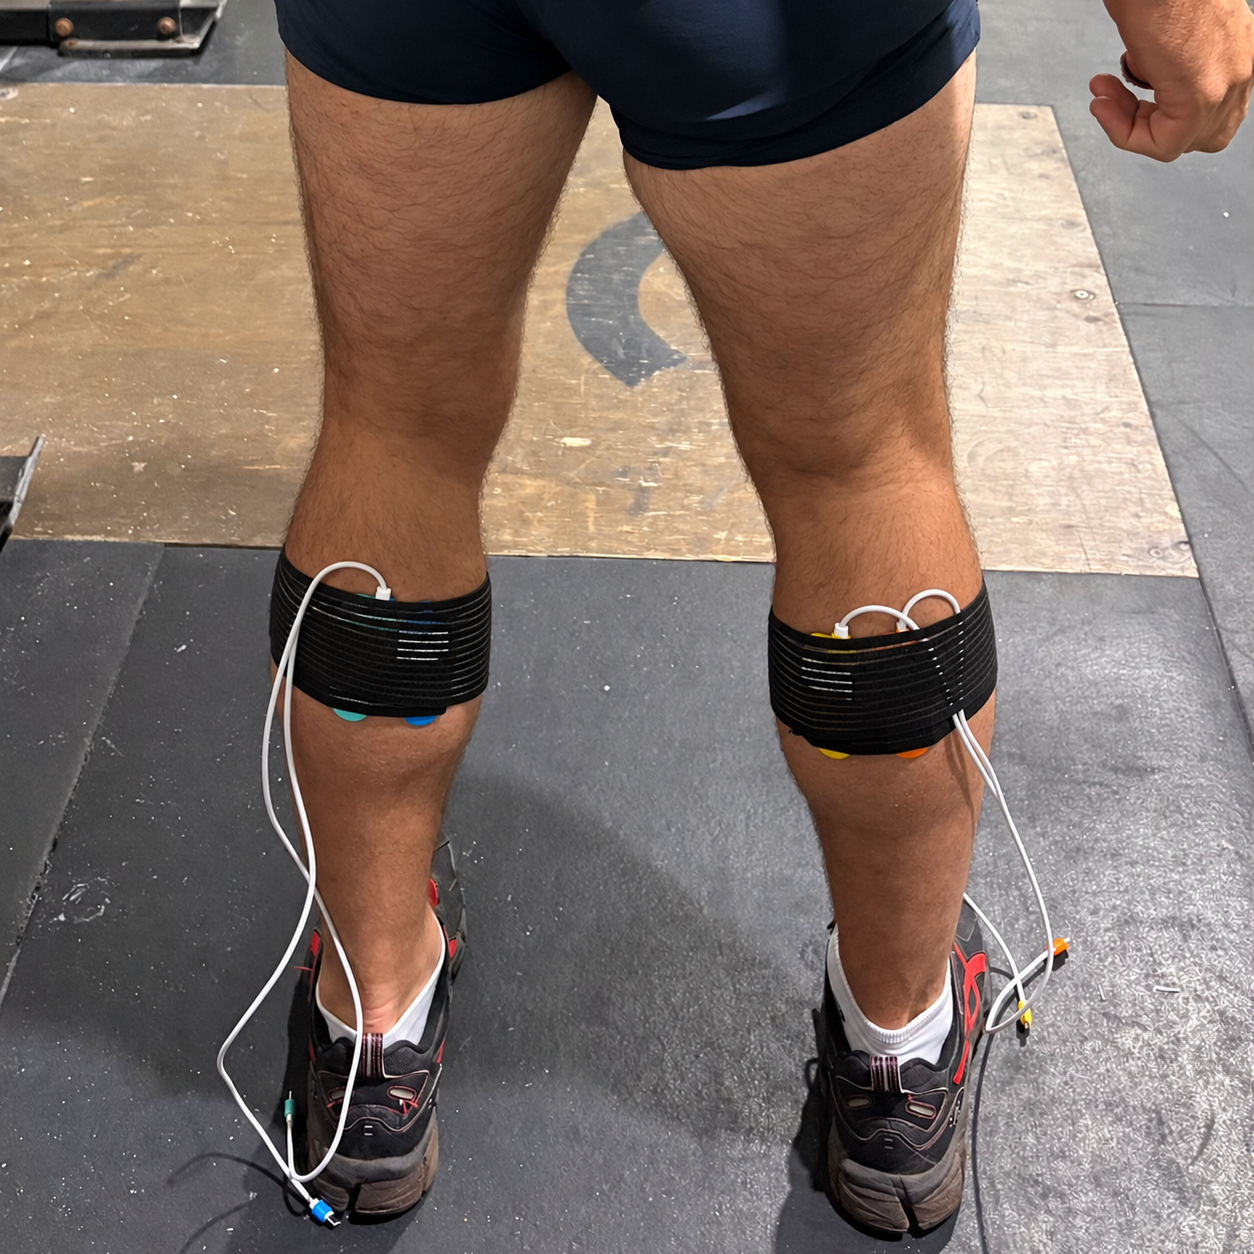
Hamstrings and Calf: dual-unit straps—teal/blue Left, orange/yellow Right. Added muscles: single-unit straps—teal Left, orange Right.
Position sensors over the selected muscles, cables upwards. Fasten comfortably without restricting movement or blood flow.
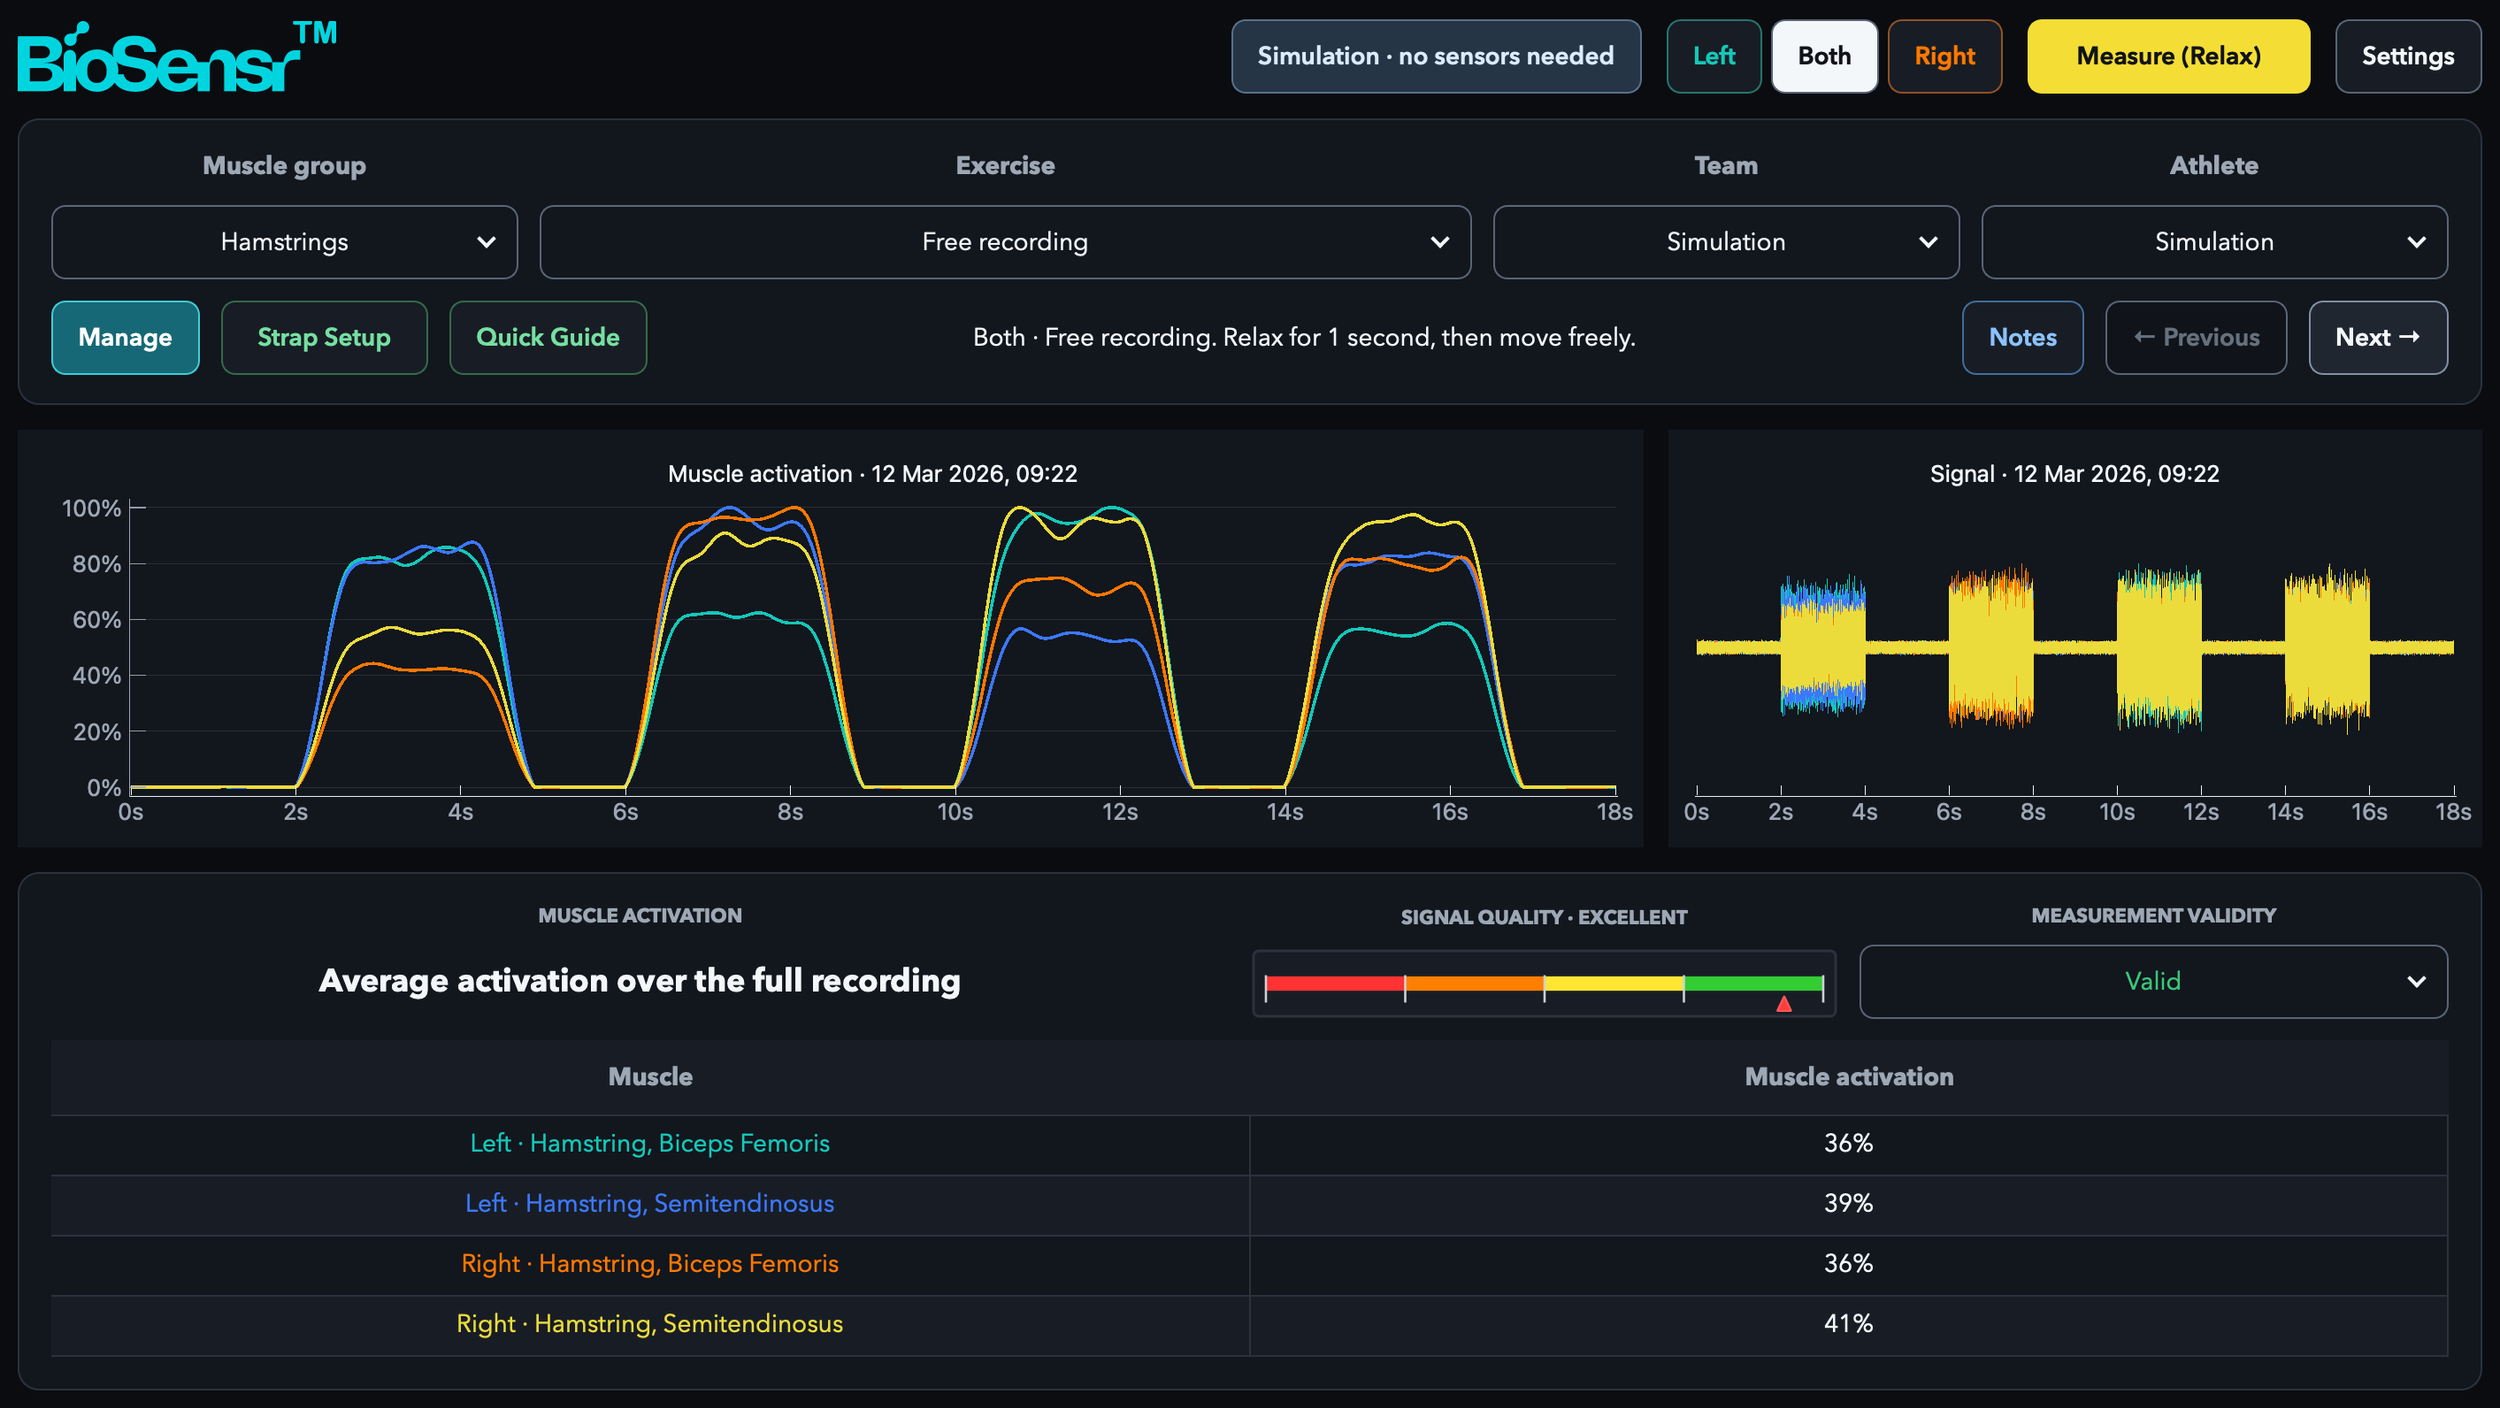
2. Measurement Setup
Select Muscle group → Free recording, Team and Athlete, then Left, Both or Right. Connect every required sensor.
Choose a suitable movement, keep cables clear with enough slack and use battery-only laptop power. Follow the IFU’s placement and electrical precautions.
3. Execution Sequence
Click Measure (Relax). Relax for one second, then move when Move freely appears.
Click Stop or press Enter to save, then review signal quality and validity. Stop immediately for pain, irritation, numbness or unsafe cable tension.
Results: activation averages the full recording, including rest, with no baseline comparison.